Battlefield 5: A Support Player's Chronicle - Mastering Gadgets for Team Victory
Battlefield 5 Support gadgets empower players with explosive versatility and tactical dominance, making you the backbone of every squad in 2026.
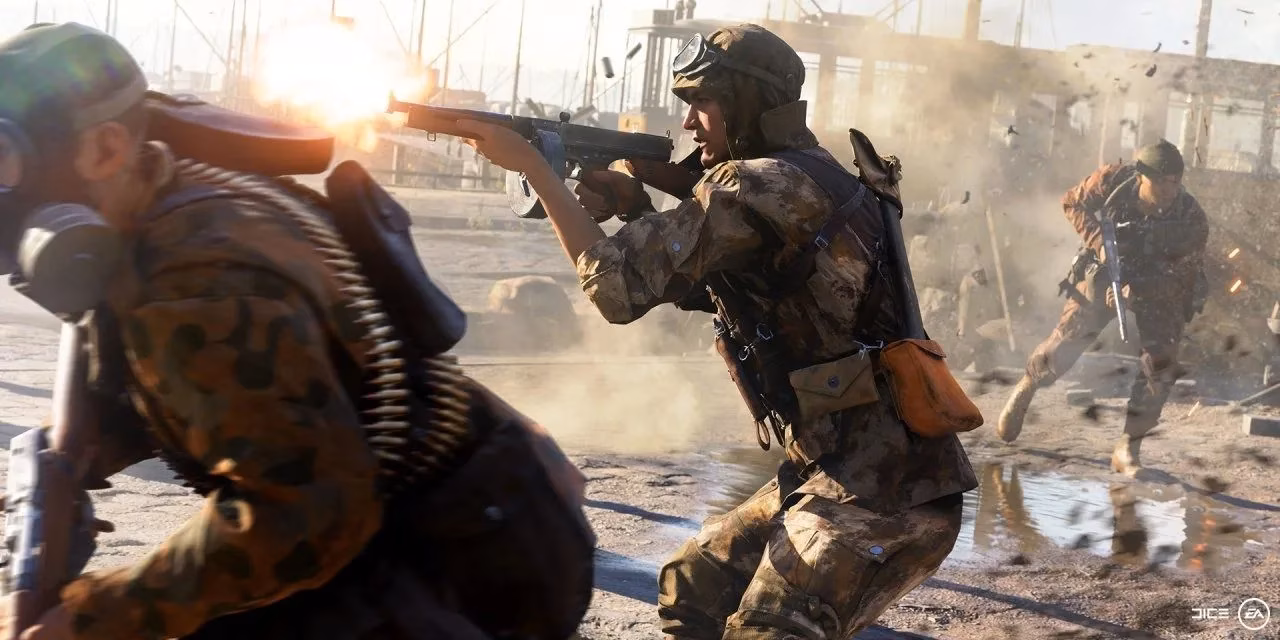
The year is 2026, and the thunderous echoes of Battlefield 5 still dominate my gaming sessions. As a dedicated Support main, I've lived countless battles where victory wasn't secured by the lone sharpshooter, but by the unsung hero keeping the team's engine running. I've learned that while every class has its glory, the Support's true power lies in a diverse arsenal of gadgets—tools that can fortify a position, obliterate armor, or turn the tide with a single, well-placed explosive. My journey has been one of mastering these implements of war, understanding that not all are created equal, and discovering which ones truly define the backbone of any successful squad.
The Silent Sentinels: Anti-Tank & Anti-Personnel Mines
My first lessons in area denial came from the humble, yet devastating, Anti-Tank Mine. These aren't just explosives; they're psychological warfare. I remember placing them in the muddy chokepoints of Twisted Steel or the narrow alleyways of Devastation, always hiding them just out of sight. The key isn't just to place them, but to conceal them. A visible mine is a useless mine. I learned to use the environment—debris, shadows, puddles—as camouflage. The thrill of hearing a distant BOOM and seeing the notification of a vehicle destroyed, knowing my trap worked long after I'd moved on, is unparalleled. And the pro-tip? You can manually detonate them with a well-aimed shot or grenade if a tank lingers nearby. It's a game of patience and prediction.
Then there's its infantry-focused cousin, the Anti-Personnel Mine, or as we veterans call them, 'Bouncing Betties'. 😈
This gadget is pure, unadulterated area denial for foot soldiers. Its effectiveness is brutally simple. I've had my best success on tight, urban maps. Placing one just around a blind corner, or—and I admit this is a bit devious—right next to a contested health or ammunition station, is a surefire way to catch a rushing enemy off guard. While a quick dive to the prone position can save them, in the heat of the moment, few players are that observant. It’s a set-it-and-forget-it tool that guards your flanks or punishes reckless pushes.
The Up-Close Brawlers: Shaped Charge & The Legendary Lunge Mine
For more aggressive, up-close anti-armor work, I turned to the Shaped Charge. This is a tool for the bold. With its pitiful throwing range, using it requires you to get dangerously close to a tank. I've had many heart-pounding moments sneaking through smoke or rubble, praying the tank commander doesn't spot me, just to slap this magnetic explosive onto its hull. Two charges will cripple most vehicles, and with a quick resupply from my own ammo crate, I could often finish the job. It pairs beautifully with other explosives for a swift takedown.
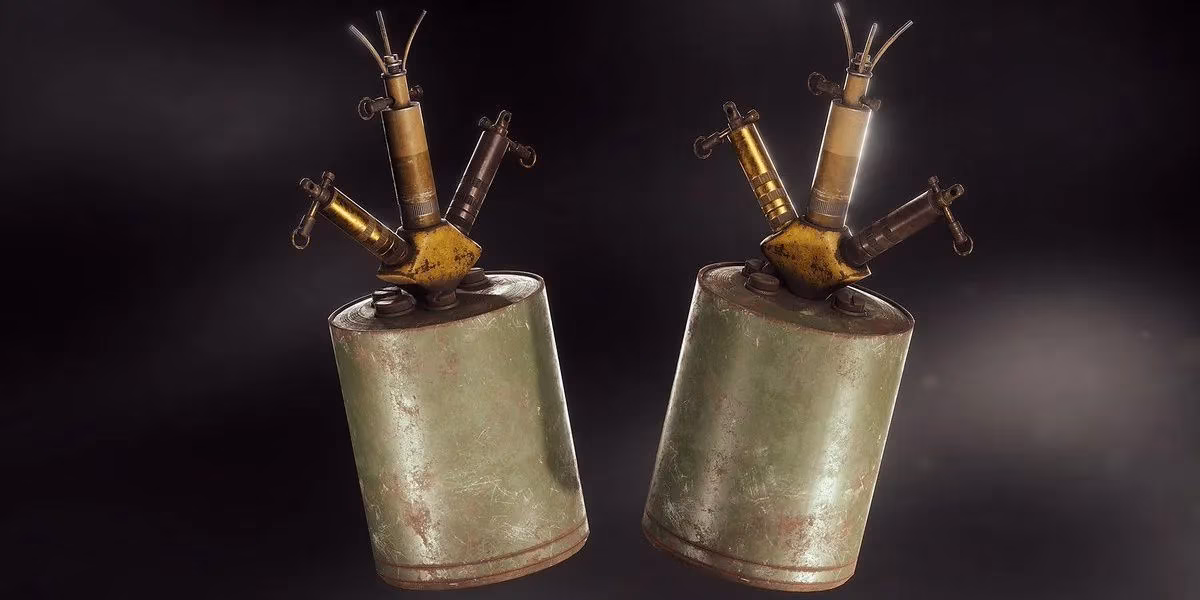
But nothing, and I mean nothing, compares to the sheer, unbridled chaos of the Lunge Mine. 🤪

This gadget is less a tool and more a statement. A bomb on a stick, modeled after a real, desperate WWII weapon. Is it the most efficient anti-tank option? No. But is it the most fun? Absolutely. The memes write themselves. Charging across a field with a speed boost, this elongated toilet plunger of doom in hand, aiming for an unsuspecting tank, is a thrill. While it won't destroy heavy armor outright, it's a fantastic disruptor. Its true, meme-worthy glory, however, is against infantry. A successful charge is a guaranteed instant kill—a bayonet charge with explosive finality. Just don't charge head-on into a machine gun nest; flanking is your best friend here.
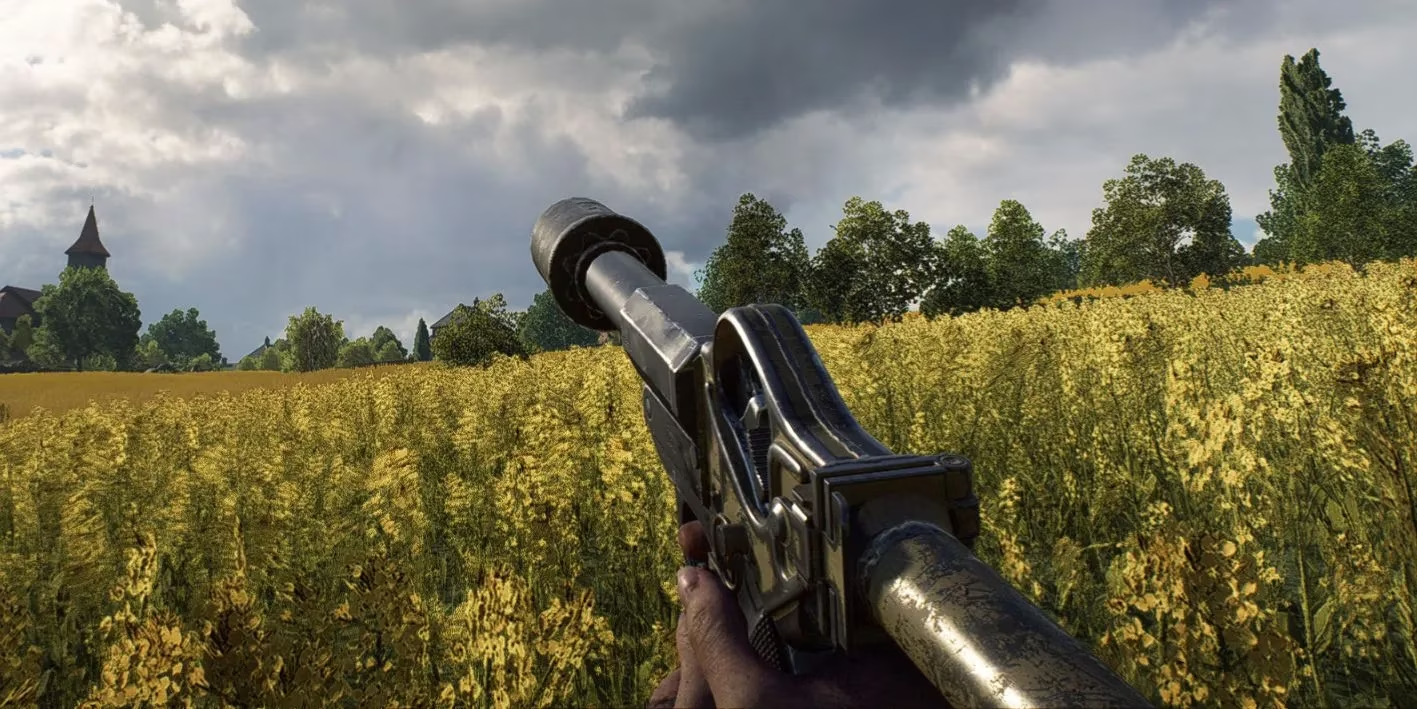
Specialized Launchers: Kampfpistole & AT Grenade Pistol
When the fight funneled into tight, meat-grinder corridors like those in Operation Underground, my gadget of choice became the Kampfpistole. This grenade launcher is the king of clearing entrenched enemies. Its rounds bounce around corners, and with a long fuse, they're perfect for flushing out campers hiding in rooms or behind cover. With three rounds to start and easy resupply from my crate, I could lock down a hallway almost single-handedly, creating a no-man's-land for the enemy team.
For a more versatile approach, I often opted for the AT Grenade Pistol. Don't let the name fool you; this is a dual-threat tool. While its primary function is harassing vehicles—especially when you hit their vulnerable rear armor—it's surprisingly potent against infantry. A direct hit won't kill a full-health soldier, but it leaves them critically wounded, easy prey for a follow-up shot. Its splash damage is negligible, so accuracy is paramount. Teamed up with an Assault class buddy, we could become a rapid-response tank-hunting duo, with my grenade pistol softening them up for his rocket launcher.
The Heart of the Team: The Humble Ammo Crate
And through all this—through the mine-laying, the suicidal charges, and the hallway bombardments—one gadget has been my constant, unwavering companion: the Ammo Crate. ❤️
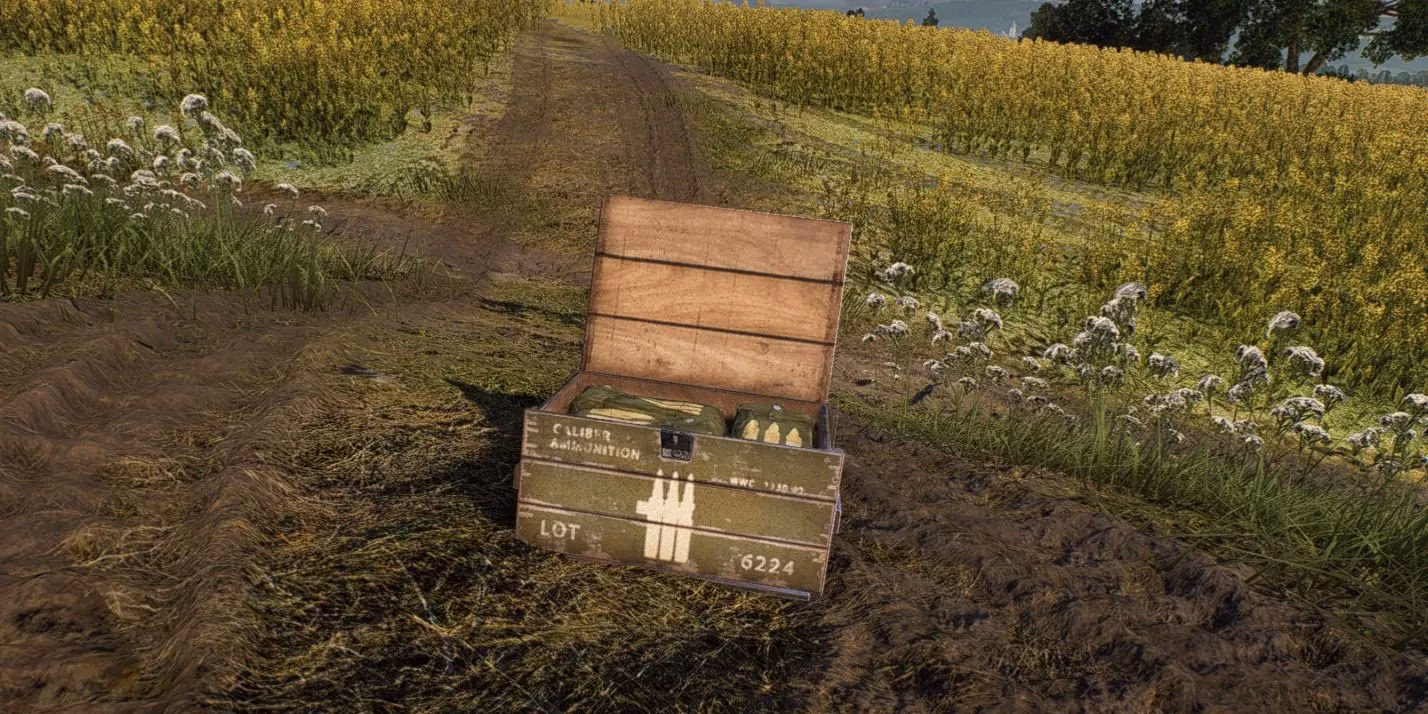
This unassuming box is the lifeblood of any sustained push or defense. While the ammo pouch is great for a quick bullet top-up on the move, the crate is a strategic powerhouse. It resupplies everything: bullets, grenades, rockets, and all those wonderful gadgets I've been talking about. Dropping one in a fortified position or during a heated firefight isn't just helping myself; it's empowering my entire team. A machine gunner never runs dry, an Assault soldier always has rockets, and I can keep laying down a constant barrage of explosives. The cooldown between resupplies is a small price to pay for the immense tactical advantage it provides. It embodies the core philosophy of the Support class: we enable others to achieve greatness.
My Gadget Loadout Philosophy
After years on the front lines, I've settled on a personal hierarchy and loadout strategy that serves me well in most situations:
| Situation | Primary Gadget | Secondary Gadget | Why This Combo Works |
|---|---|---|---|
| Open Maps (Panzerstorm) | Anti-Tank Mine | Ammo Crate | Deny vehicle routes & sustain team. |
| CQB Maps (Op. Underground) | Kampfpistole | AP Mine | Control chokepoints & secure flanks. |
| Aggressive Anti-Armor | Shaped Charge | Lunge Mine | High-risk, high-reward vehicle hunting. |
| Versatile Support | AT Grenade Pistol | Ammo Crate | Damage vehicles & support infantry pushes. |
The journey of a Support player is one of adaptation and selflessness. Your name might not always be at the top of the scoreboard for kills, but when your squad holds a point against impossible odds because they never ran out of ammo, or when an enemy tank column is halted by your well-placed traps, you feel a different kind of victory. In the ever-evolving landscape of Battlefield 5, even in 2026, the Support class remains the steadfast cornerstone upon which empires of pixels are built and battles are won.